
Leather seats add a premium look and feel to your vehicle, but even the finest leather isn’t immune to wear and tear. From minor scratches to deeper cracks and tears, your car’s interior can lose its charm fast if not properly maintained. Whether you’re driving a luxury sedan or a daily commuter, leather car seat repair is easier than you think—and you don’t need to break the bank to do it. This DIY guide will walk you through professional-level repairs you can tackle at home. Let’s get your seats looking like new!
Why Leather Car Seats Need Special Care
Leather is a natural material, and while it’s durable, it’s also porous. That means it absorbs oils, sweat, UV rays, and dirt, all of which contribute to premature aging. Scratches and tears often result from frequent use, especially in high-traffic areas like the driver’s seat. And if ignored, those small imperfections can expand into costly damage.
Routine leather car seat restoration doesn’t just enhance the look of your ride—it also preserves its resale value. And if you’re already seeing signs of distress, timely action with the right leather car seat repair kit can save you hundreds.
Get to Know the Common Types of Leather Damage
Before diving into how to repair leather car seats, it helps to understand what you’re dealing with. The most common types of damage include:
- Surface scratches from keys, belts, or jeans.
- Fading and cracking due to sun exposure.
- Deep tears from sharp objects or excessive wear.
- Dry or stiff leather from neglect.
Each type of damage requires a slightly different repair approach, but don’t worry—we’ll cover them all.
Must-Have Tools for DIY Leather Car Seat Repair
A well-stocked repair kit is your best friend. You can find ready-to-use leather car seat repair kits at most auto stores or online. Here’s what you’ll typically need:
- Leather cleaner and conditioner.
- Sandpaper (usually 600–1000 grit).
- Color-matching repair compound.
- Leather adhesive or filler.
- Applicator tool or palette knife.
- Heat-cure tool (some kits include this).
- Soft clothes and gloves.
If you’re not sure which kit to buy, check customer reviews or ask professionals like those at Car and Bike Magic for recommendations.
Step-by-Step: Fixing Surface Scratches
Minor scratches may look bad, but they’re often the easiest to fix. Start by cleaning the area thoroughly with a leather cleaner. Once dry, gently sand the scratched area with fine-grit sandpaper until smooth.
Next, apply a small amount of color-matching compound using your applicator. Smooth it out, let it dry, and apply conditioner to restore softness. This quick fix can take your seats from scratched to spotless in no time.
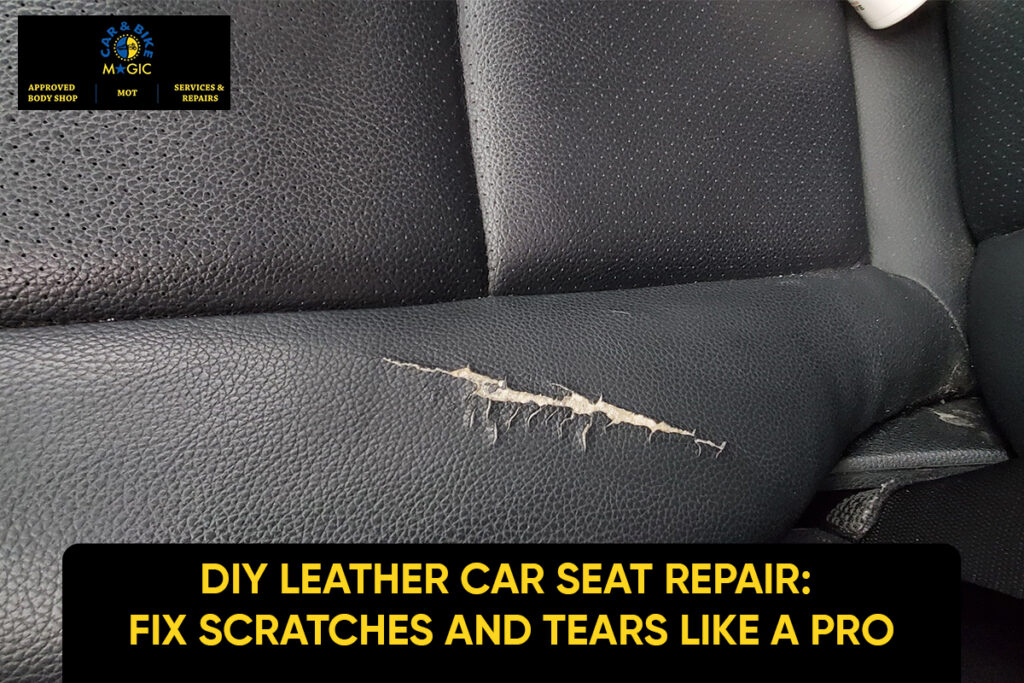
Repairing Deeper Tears Like a Pro
For more serious issues, like rips or holes, DIY leather car seat tear repair requires a bit more patience. Begin by trimming any frayed edges. Then, apply leather adhesive beneath the tear and press the fabric backing into place (many kits include this).
Once the adhesive sets, use the filler to level the surface. Let it cure (sometimes with heat), then sand it smooth. Apply your color compound, blending as needed. Finally, seal and condition the area to match the surrounding leather. If done right, even larger repairs can be virtually invisible.
Paper vs. Mesh: Choosing the Right Tape
Some automotive leather repair kits come with paper drywall tape or mesh tape for reinforcing larger tears. While mesh drywall tape provides added strength, paper tape can offer a smoother finish. Consider the location and severity of the damage when deciding.
Blending and Coloring Techniques
Getting a perfect color match can be tricky. Always test your compound on a hidden section of your seat first. Use a dabbing motion to blend the edges and avoid harsh lines. Some kits let you mix custom colors for a more precise match.
If you’re unsure about color blending, check out this helpful blog post that explains how pros achieve seamless results.
Tips to Prevent Future Damage
Now that you’ve learned how to repair leather car seats, let’s make sure they stay in good shape. Here are a few maintenance tips:
- Regularly clean and condition the leather.
- Use sunshades to prevent UV damage.
- Avoid sharp objects like tools or keys in your pockets.
- Park in shaded or covered areas when possible.
Good habits go a long way in preserving your DIY efforts.
When to Call in the Experts
Some damage is just too extensive or in high-visibility areas like the headrest or seat seams. In those cases, a professional touch might be the better route. The team at Car and Bike Magic can give your seats the VIP treatment if you’re not ready to go full DIY.
Final Thoughts
Fixing your leather seats might sound intimidating, but with the right tools, a steady hand, and a little patience, you can make your car’s interior look nearly new again. Whether you’re patching up small scratches or tackling deeper tears, this guide gives you the confidence to restore your ride without shelling out for a full reupholster job.
So, grab your leather car seat repair kit, roll up your sleeves, and turn those imperfections into a weekend win. And if you hit a snag, you know where to go—Car and Bike Magic has your back.
FAQs
How long does a DIY leather car seat repair last?
If done properly and maintained well, a DIY repair can last for several years. Using quality materials and following each step carefully is key.
Can I use household items instead of a repair kit?
While some people try olive oil or nail polish for quick fixes, we don’t recommend it. These can cause more damage in the long run.
What’s the best way to match the leather color?
Most kits include multiple dyes for mixing. Test on an inconspicuous area first, and apply in thin layers until you reach the desired shade.
Do I need to remove the seat from the car?
Not usually. Most repairs can be done in place, especially if you can easily access the damaged area.
Is mesh drywall tape really necessary?
For large tears or heavily used areas, yes. It adds extra strength and prevents the tear from spreading.